Friday, July 18, 2008
Tuesday, July 15, 2008
Quick Fix for the not so white backgrounds
Many people talk about getting that perfect white background in their photos. I have already had two entries on how to do this with your camera settings. There is another way to tweak them as well just in case they didnt come out as white as you were hoping for.
Many people have post processing programs like Photoshop and the likes. If you dont have one of these programs though there is a free alternative. Gimp is a free program that does a lot of what photoshop can do http://www.gimp.org/ is the site.
Here is a quick reference on a quick fix. Open Gimp then open your photo with the not so white background. Then go to Colors>levels

Drag your cursor to the white eyedropper and click

Then pick what should be the whitest spot in your photo. I am picking the highlight reflected on the surface from one of the beads. You can see an arrow pointing to where I am talking about. Then click on it with the eyedropper. Click ok to save the changes.

Here are the results.

Full size before and afters

After.

Depending on how off your original is your picture may require more tweaking. We can get into that another time.
Many people have post processing programs like Photoshop and the likes. If you dont have one of these programs though there is a free alternative. Gimp is a free program that does a lot of what photoshop can do http://www.gimp.org/ is the site.
Here is a quick reference on a quick fix. Open Gimp then open your photo with the not so white background. Then go to Colors>levels

Drag your cursor to the white eyedropper and click

Then pick what should be the whitest spot in your photo. I am picking the highlight reflected on the surface from one of the beads. You can see an arrow pointing to where I am talking about. Then click on it with the eyedropper. Click ok to save the changes.

Here are the results.

Full size before and afters
After.
Depending on how off your original is your picture may require more tweaking. We can get into that another time.
Sunday, July 13, 2008
Product Photography for Etsy Part II
Using your cameras white balance settings.
In part one we talked a bit about different ideas on how to stop motion blur in order to get good clear pictures. In part two I want to talk about your cameras white balance settings. Believe it or not YOU DONT HAVE TO SHOOT YOUR PICTURES OUTSIDE TO GET GOOD RESULTS. I know I am nuts everyone has told you that YOU NEED TO SHOOT PICTURES OUTSIDE but its simply not true. While yes outdoor lighting is great and it allows for good lighting you dont need to take all your pictures outdoors. As long as you remember that your camera sees things differently that we do everything will be just fine. Our eyes adjust to the different light hues that are given off by different light sources. Cameras on the other hand do not. So when you take a picture with your camera it records what it sees. All lights vary in the color they give off. Many times you will hear this refered to as temperature of the light. The two more common lights that we use in our houses are Incandescent and Fluorescent. Incandescent lights give off a warm color by warm they start to add more red to the image the results are usually a more orange tone. Fluorescent bulbs on the other hand give off a cool blue/green tone. You can see an exagerated examples here.
In the time that I have been using digital cameras I have only come across one person that had a camera that didnt have the white balance option. I know this is scary for many people but sometimes in order to change the white balance you have to take the camera out of AUTO mode. Dont worry your camera wont self destruct. For most of us on Etsy that shoot jewelry and small items your going to want to have your camera on the MACRO (flower)mode anyway. All cameras are different and all have different ways to adjust the white balance. You're going to have to break out the manual and figure out how your particular camera works. As for mine this is how it works. Most cameras have a menu that will look similar. They will have different icons that look like the sun, clouds, incandescent bulb, fluorescent bulb and maybe some others. You can learn what each item does to manipulate the picture or just take test shots until you find the one you like the best. But many times auto white balance just doesnt do the best job. Some more advanced cameras offer even more fine tuning.
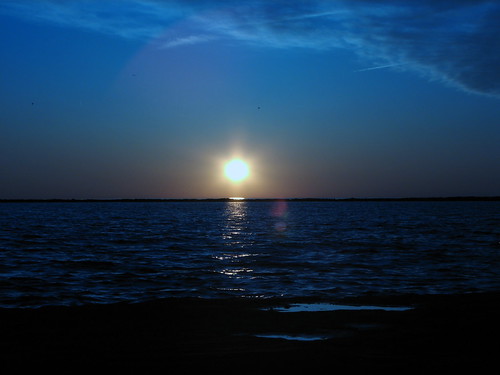
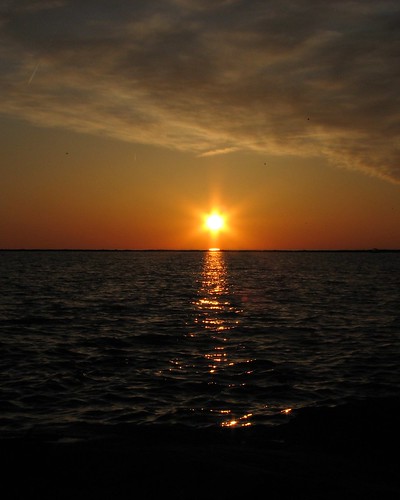
Setting the proper white balance is essential to accurate color reproduction. If you set the white balance correctly you wont need to retouch your images for color correctness. White balance can also be used artistically as you can see below. These two shots were taken within 5 minutes of each other but I changed the White Balance setting on my camera.


So now its time to break out the camera manual and learn as much as you can about white balance. Its not a hard thing to learn and it can improve your pictures by leaps and bounds.
In part one we talked a bit about different ideas on how to stop motion blur in order to get good clear pictures. In part two I want to talk about your cameras white balance settings. Believe it or not YOU DONT HAVE TO SHOOT YOUR PICTURES OUTSIDE TO GET GOOD RESULTS. I know I am nuts everyone has told you that YOU NEED TO SHOOT PICTURES OUTSIDE but its simply not true. While yes outdoor lighting is great and it allows for good lighting you dont need to take all your pictures outdoors. As long as you remember that your camera sees things differently that we do everything will be just fine. Our eyes adjust to the different light hues that are given off by different light sources. Cameras on the other hand do not. So when you take a picture with your camera it records what it sees. All lights vary in the color they give off. Many times you will hear this refered to as temperature of the light. The two more common lights that we use in our houses are Incandescent and Fluorescent. Incandescent lights give off a warm color by warm they start to add more red to the image the results are usually a more orange tone. Fluorescent bulbs on the other hand give off a cool blue/green tone. You can see an exagerated examples here.
In the time that I have been using digital cameras I have only come across one person that had a camera that didnt have the white balance option. I know this is scary for many people but sometimes in order to change the white balance you have to take the camera out of AUTO mode. Dont worry your camera wont self destruct. For most of us on Etsy that shoot jewelry and small items your going to want to have your camera on the MACRO (flower)mode anyway. All cameras are different and all have different ways to adjust the white balance. You're going to have to break out the manual and figure out how your particular camera works. As for mine this is how it works. Most cameras have a menu that will look similar. They will have different icons that look like the sun, clouds, incandescent bulb, fluorescent bulb and maybe some others. You can learn what each item does to manipulate the picture or just take test shots until you find the one you like the best. But many times auto white balance just doesnt do the best job. Some more advanced cameras offer even more fine tuning.
Setting the proper white balance is essential to accurate color reproduction. If you set the white balance correctly you wont need to retouch your images for color correctness. White balance can also be used artistically as you can see below. These two shots were taken within 5 minutes of each other but I changed the White Balance setting on my camera.


So now its time to break out the camera manual and learn as much as you can about white balance. Its not a hard thing to learn and it can improve your pictures by leaps and bounds.
Subscribe to:
Comments (Atom)


